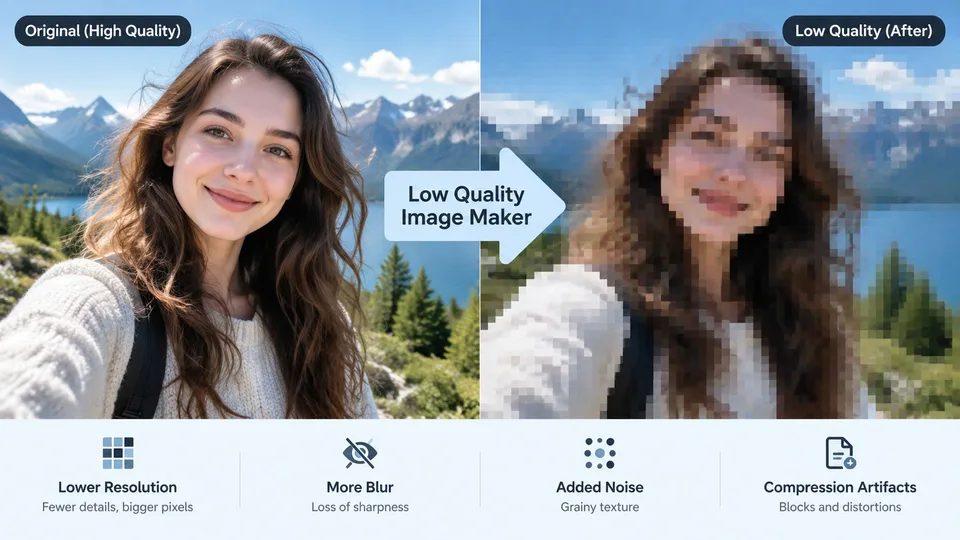
What a low quality image maker does
A low quality image maker reduces clarity on a file you already have. It is the job for a meme panel, a chat screenshot that should look forwarded, a mock of a bad camera phone, or a smaller JPG when the original is sharper than the layout needs. The subject stays the same picture. The export just keeps less of it.
People searching “low quality image maker” are usually not asking an AI to redraw the scene. They want compression blocks, a smaller pixel grid, or blur they can see. RenderHarbor’s tool on this page does that in the browser. The photo is read locally, drawn to a canvas, and saved as a new JPEG. It is not sent to a generation model, and it does not spend image credits.
That split matters. Image Enhance and the upscaler exist to recover detail. This page exists to throw detail away in a controlled way. If the brief is “make this sharper,” leave this page. If the brief is “make this look worse, or smaller, and keep the same photo,” stay here.
How to make an image look low quality
Upload a JPG, PNG, or WebP in the tool above. The first preset, Lower quality, drops JPEG quality to a level where blocking is visible and the subject is still readable. Drag the slider if the first pass is too clean or too crushed. The comparison slider shows the original on the left and the export on the right.
Use Pixelated when you want hard squares, Blurry when the edges should go soft, and Shared many times when the file should look like it passed through several chat apps. Those presets set JPEG quality, scale, pixel size, blur, and re-save count together. After a preset, any slider change is yours — the preset highlight turns off so you can see the mix is custom.
Download the JPG when the preview matches the job. Check the size line under the slider: original dimensions and file size, then the result. If text in the picture must stay readable, raise JPEG quality or lower pixel size before you save. A crushed export cannot be restored by downloading it twice.
JPEG quality, scale, pixels, blur, and re-saves
JPEG quality is the fastest control. Lower numbers keep fewer coefficients, so flat areas turn into blocks and edges smear. Start here when the picture should still have its original pixel count but look compressed. Output scale changes how many pixels the file contains. A 40% scale is a real resolution drop, which is what “low resolution image” usually means, and it also cuts file size.
Pixel size is separate from scale. Scale shrinks the file. Pixel size draws the picture as large squares and then stretches those squares back out, so the canvas can stay large while the detail collapses. Blur softens edges without adding blocks. Use a small blur for a copied screenshot. Use a large blur only when softness is the point, because type and faces disappear quickly.
Re-save passes decode the JPEG and encode it again. Each pass adds generation loss, the same damage a photo picks up when it is exported, uploaded, and saved once more. Shared many times uses several passes plus a modest scale drop. One pass is enough for a simple quality cut. Extra passes are for the forwarded look, not for making the file smaller in a predictable way.
When a rough file is the right export
Use this page for a deliberate aesthetic: reaction images, fake “sent from an old phone” frames, thumbnails that should not out-resolve the layout, and test assets for a UI that has to survive a bad upload. Designers also use a rough export to check whether a layout still reads when the photo is compressed the way a social network will compress it.
Use a normal export everywhere else. Product listings, print, and portraits that need to look like the shoot should stay on the original file or go through Image Enhance if the source is already soft. Running a client photo through a low quality maker and then asking an enhancer to undo it wastes both steps. Decide which file is the deliverable before you download.
The download is a JPEG. Transparency in a PNG becomes a flat background because JPEG has no alpha. If you needed a cutout, finish that on the background remover first, then degrade a flattened copy only if the rough look is still required.
Privacy and limits
Processing stays on this device. Closing the tab drops the preview. There is no account step and no credit charge, because nothing is generated. Very large photos can take a moment when re-save passes are high, since each pass decodes and encodes the full frame.
The tool cannot invent detail, and it will not keep a vector sharp. It also will not hit an exact kilobyte target. Watch the result size after you move JPEG quality and scale. If the file is still too large, lower the scale. If it looks too damaged, raise JPEG quality before you add blur or pixels.
This is not the AI photo generator and not image to image. Those pages create or restyle a picture with a prompt. A low quality image maker only degrades the pixels you uploaded. If you later want a clean version, keep the original — the JPG from this page is the rough copy.
FAQ
What is a low quality image maker?
It takes a photo you upload and exports a rougher JPEG: heavier compression, fewer pixels, blockier squares, blur, or several re-saves. The picture is the same photo with less detail.
Is my image uploaded?
No. The file is read and encoded in your browser. RenderHarbor does not send it to a server for this tool.
Will the file get smaller?
Usually, once JPEG quality or output scale comes down. Pixel blocks and blur change the look more than the size. Check the size line under the preview before you download.
How do I pixelate a photo?
Choose Pixelated, or raise Pixel size while leaving Output scale near 100%. The squares get larger as the pixel size goes up.
What does Shared many times do?
It scales the photo down a bit, adds light pixelation and blur, then re-saves the JPEG several times so compression damage stacks.
Can I undo the low quality export?
The download is a new file. Your original upload is unchanged. An enhancer cannot reliably restore detail that this tool removed, so keep the source if you still need it.